A ceiling stain near a fireplace does not always mean the roof field is failing. In many cases, the leak starts where the chimney meets the roof, then travels along framing before it shows up indoors. Knowing how to stop chimney leaks means finding the true entry point, not covering the stain or adding another bead of caulk where water is already getting past the roof system.
In Miami-Dade, chimney leaks can be especially stubborn. Heavy rain drives water sideways, intense UV breaks down exposed sealants, and salt-heavy air can corrode metal flashing over time. A repair that looks fine during a dry week may fail quickly during the next hard downpour if the underlying detail was not corrected.
Start by Identifying Where the Water Is Entering
A chimney has several possible leak points: the chimney cap, masonry joints, crown, roof flashing, counterflashing, and the roofing material surrounding it. Water can enter at one location and appear somewhere else, so the visible interior damage is a clue, not a diagnosis.
Look for damp drywall, peeling paint, bubbling ceiling texture, or a musty smell near the chimney chase. On the exterior, warning signs include cracked mortar, loose or rusted flashing, missing sealant, deteriorated roof shingles or tiles around the chimney, and dark water trails on masonry. If you have an attic, inspect the framing around the chimney after a rain event. Fresh moisture, wet insulation, or water marks can help narrow down the source.
Do not assume a chimney leak is always a masonry problem. On many homes, the issue is the roof-to-chimney transition. On others, water is getting through the top of the chimney or into an open chase. The repair has to match the failure.
How to Stop Chimney Leaks at the Flashing
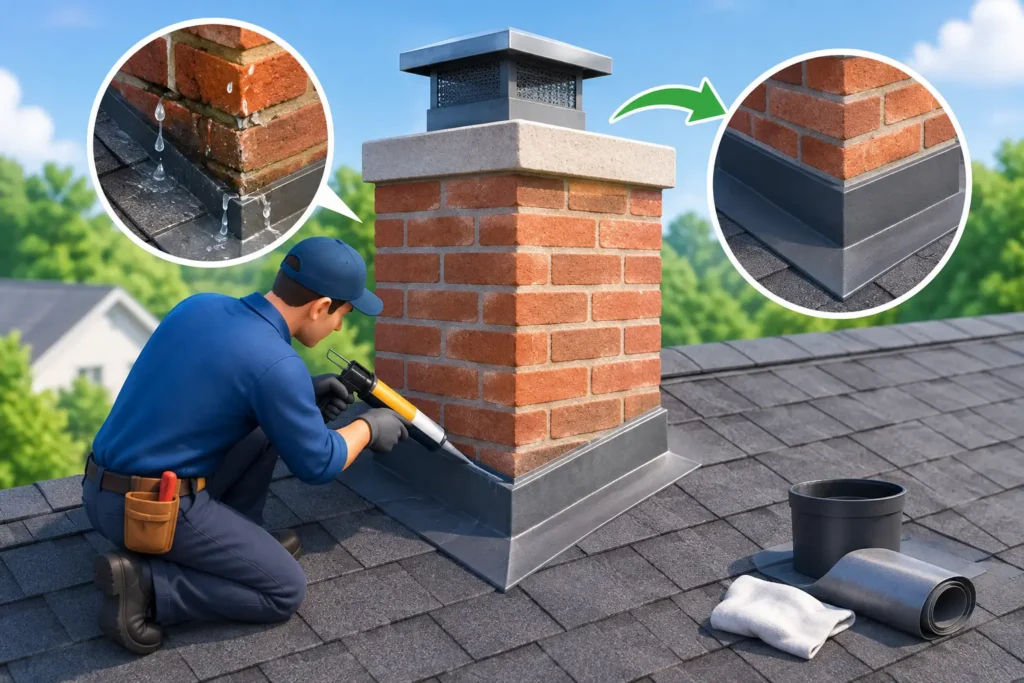
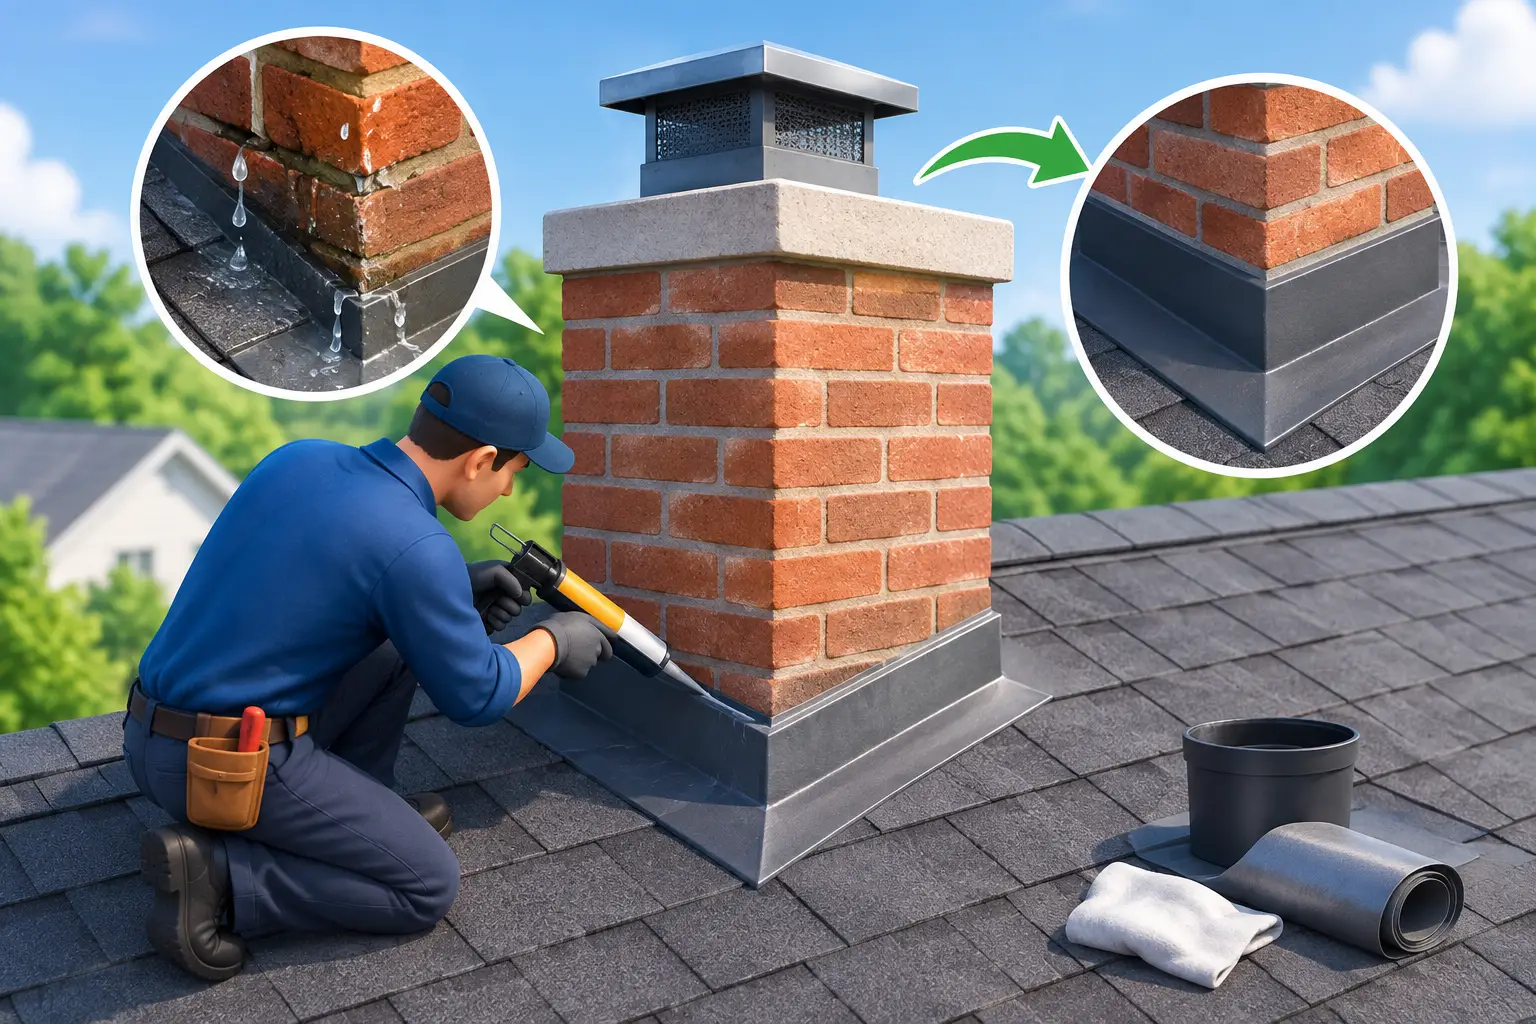
Flashing is the metal system that directs water away from the chimney and onto the roof. When properly installed, it works with the roofing material rather than relying on caulk as the main water barrier. When it is loose, corroded, improperly lapped, or covered with failing sealant, water can work behind it.
There are usually two parts to the system. Step flashing is woven into the roof covering along the sides of the chimney. Counterflashing is built into or attached over the masonry to protect the upper edge of the step flashing. At the downhill side of a wide chimney, a cricket may be needed to split and redirect water so it does not pond behind the structure.
A proper flashing repair often requires removing some roofing material around the chimney. That is not upselling. It is how a roofer gets access to inspect the underlayment, replace damaged metal, and rebuild the water-shedding layers in the right order. Smearing roof cement over cracked flashing may slow a leak temporarily, but it rarely holds up through South Florida sun and wind-driven rain.
For older homes, rust is a major concern. Salt air and constant moisture can weaken galvanized flashing, especially where fasteners and seams are exposed. Replacing corroded metal with a compatible, properly detailed flashing system is usually the smarter long-term move.
Check the Chimney Crown, Cap, and Masonry
If the flashing is sound, look higher. The chimney crown is the sloped concrete or mortar surface at the top of a masonry chimney. Its job is to shed water away from the flue and masonry walls. Cracks in the crown can let water soak into the chimney, where it may travel downward and appear as an interior leak.
A chimney cap is also worth inspecting. A properly fitted cap keeps rain from entering the flue while allowing smoke and gases to vent. Missing, bent, or undersized caps can allow direct water entry. If your home has a decorative chimney chase rather than exposed brick, the metal chase cover on top may be the issue. Seams, fasteners, and corners on these covers are common failure points.
Masonry itself can absorb water when mortar joints are cracked or the brick has become porous. Repointing damaged mortar and repairing cracks may be necessary before applying a breathable masonry water repellent. The word breathable matters. A coating that traps moisture inside the brick can create more damage, especially in humid conditions. Never treat a masonry sealer as a substitute for fixing failed flashing, a cracked crown, or open joints.
Repair the Roof Area Around the Chimney
Sometimes the chimney is not leaking at all. The roof material beside it has failed, allowing water to enter beneath shingles, tiles, or membrane edges. This is common where previous repairs were done without properly tying the roof covering into the flashing.
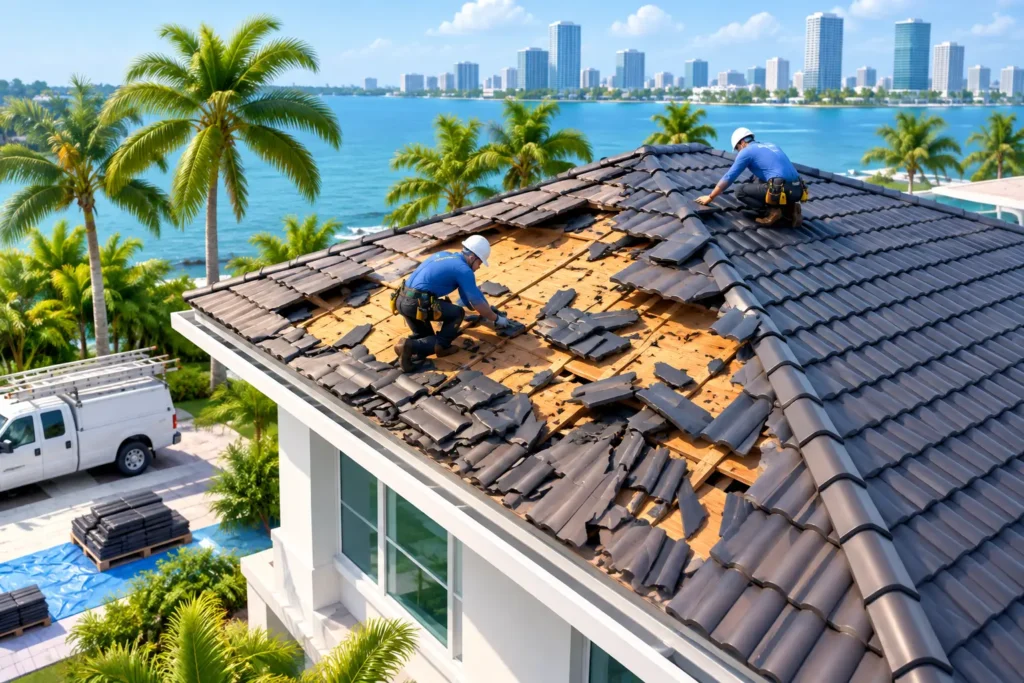
On shingle roofs, check for lifted, cracked, or missing shingles around the chimney. On tile roofs, cracked tiles, broken mortar, loose flashing, or worn underlayment can be the real problem. On flat and low-slope roofing, pay close attention to membrane terminations, seams, and transitions at the chimney base. Water can sit against a poorly detailed penetration and find its way into the building over time.
The repair should restore the full assembly: roof deck if damaged, underlayment or membrane, flashing, and the finished roof material. Replacing only the visible surface may leave the leak path open underneath.
Avoid the Quick Fixes That Create Bigger Repairs
Roofing sealant has a place in a well-built repair, but it should not be the whole repair. Caulk dries out, cracks, and pulls away under UV exposure. Roofing tar can become brittle and trap debris. Spray-on products may hide the problem for a short time while moisture continues damaging wood, insulation, and drywall.
Be careful with DIY work on a roof, especially after rain or during hurricane season. Wet tile, steep slopes, and unstable flashing create real fall hazards. Chimney repairs also involve details that can be easy to get wrong. A few misplaced fasteners or a poorly lapped flashing edge can direct water behind the roof system instead of away from it.
If you need a temporary measure while waiting for service, place a container under an active indoor drip, move belongings out of the area, and document the damage with photos. Avoid climbing onto the roof during wet or windy conditions. If water is near electrical fixtures, turn off power to the affected area if it is safe to do so and contact a qualified professional.
Know When a Professional Inspection Is the Right Call
A chimney leak deserves a professional roof inspection when it returns after caulking, appears only during heavy wind-driven rain, involves stained ceilings or soft drywall, or occurs near a chimney with aging flashing and roofing materials. Property managers should also act early. One small leak can affect multiple units or common areas before anyone sees the full extent of the damage.
A good inspection should include photos and a clear explanation of what failed, why it failed, and what the repair will involve. Ask whether the contractor inspected the flashing, surrounding roof material, chimney crown, cap, masonry joints, and attic or interior evidence. Honest answers matter more than a fast promise to “seal it up.”
Flash Roofing & Sheet Metal approaches chimney leaks the same way it handles every Miami roof repair: identify the source, show the condition, and repair the system correctly. No mystery fees and no patchwork that leaves the real problem behind.
A chimney leak rarely improves on its own. Catching it while the evidence is limited to a small stain or loose flashing can protect the roof structure, interior finishes, and the budget you had planned for more important things.