A roof leak after a Miami storm can turn from a wet ceiling spot into damaged insulation, electrical hazards, and mold concerns fast. This guide to emergency roof tarping explains what a tarp can do, what it cannot do, and how to protect your property without taking unnecessary risks on a storm-damaged roof.
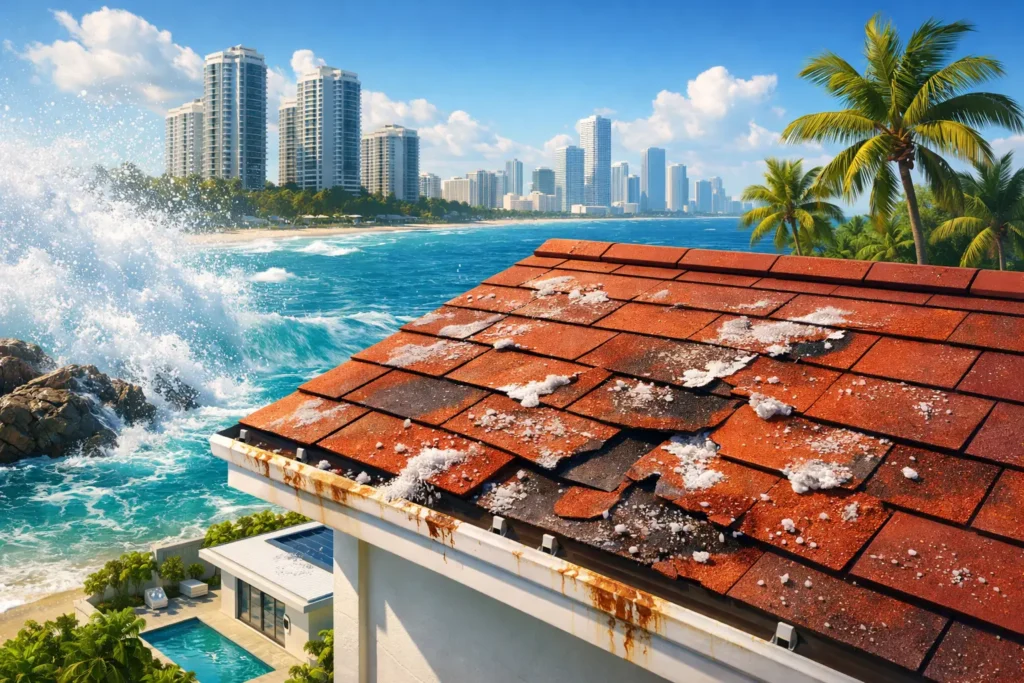
Emergency tarping is temporary damage control. It is not a roof repair, and it should never become a substitute for finding the source of the failure. In South Florida, that distinction matters. High winds can lift tile, loosen flashing, split membranes, and drive rain beneath areas that look intact from the ground. A tarp buys time. The right repair solves the problem.
When emergency roof tarping makes sense
A tarp is most useful when the roof has an active opening and more rain is expected before a qualified roofer can inspect it. Common situations include missing shingles, displaced tiles, punctured flat-roof membranes, storm-damaged flashing, or a fallen branch that has opened the roof surface.
It can also help protect exposed sections during a larger repair decision, especially after a hurricane or severe wind event when contractors and insurance adjusters are handling high call volumes. The goal is to direct water away from the damaged area, reduce interior damage, and document that you took reasonable steps to protect the building.
Not every ceiling stain calls for a tarp. Water can travel along decking, framing, pipes, or insulation before it appears indoors. The visible stain may be several feet from the actual roof leak. If there is no obvious exterior opening, placing a tarp in the wrong location may do little good and can create another point of damage if it is fastened carelessly.
Start with safety, not the roof
Do not climb onto a roof during rain, lightning, high winds, or while the surface is wet. Miami tile roofs are especially slippery when wet, and damaged shingles, metal panels, or membrane roofing can be less stable than they appear. A roof that held your weight yesterday may not be safe after wind or impact damage.
From the ground, look for downed power lines, hanging branches, loose roofing materials, damaged gutters, and obvious holes. If power may be affected by water, keep people away from the area and contact the appropriate emergency service or utility provider. Inside the building, move valuables away from the leak, place containers under dripping water, and shut off electricity to the affected area only if it can be done safely.
For commercial properties, notify tenants or occupants, block access below any active ceiling leak, and document the condition. Wet ceiling tile, saturated insulation, and pooling water can create safety issues well beyond the roof itself.
If you cannot safely reach the damaged area from a secure ladder or if the roof is steep, heavily damaged, or still exposed to wind, stop there. The safest emergency tarp is one installed by trained professionals with the right equipment and a plan for the roofing system underneath.
What you need for a temporary roof tarp
A proper temporary cover needs more than a thin plastic sheet thrown over a leak. Use a heavy-duty, waterproof tarp large enough to extend well beyond the damaged area. You will also need materials that hold the tarp without creating unnecessary holes in the roof.
For a basic temporary installation, gather these items:
- A heavy-duty tarp with several feet of overlap on every side of the damage
- Smooth wood battens, such as 2-by-4s, to secure tarp edges
- Exterior-rated fasteners long enough to hold the battens securely
- A stable ladder, gloves, non-slip footwear, and eye protection
Avoid relying on bricks, loose sandbags, duct tape, or a few nails driven through the center of the tarp. Wind can work under a poorly secured tarp and turn it into a sail. That can enlarge the roof opening, tear off more materials, or create a hazard for neighboring property.
How to tarp a roof without making the damage worse
Only proceed if conditions are dry, calm, and safe, and if you can access the roof without walking across unstable areas. Work with another adult whenever possible. One person can stabilize the ladder and assist from the ground while the other handles the cover.
First, take clear photos and video of the visible damage from the ground and, only if safe, from the roof. Photograph loose materials, missing tiles or shingles, punctures, standing water, and interior staining. These records can be useful when speaking with your insurer and your roofing contractor.
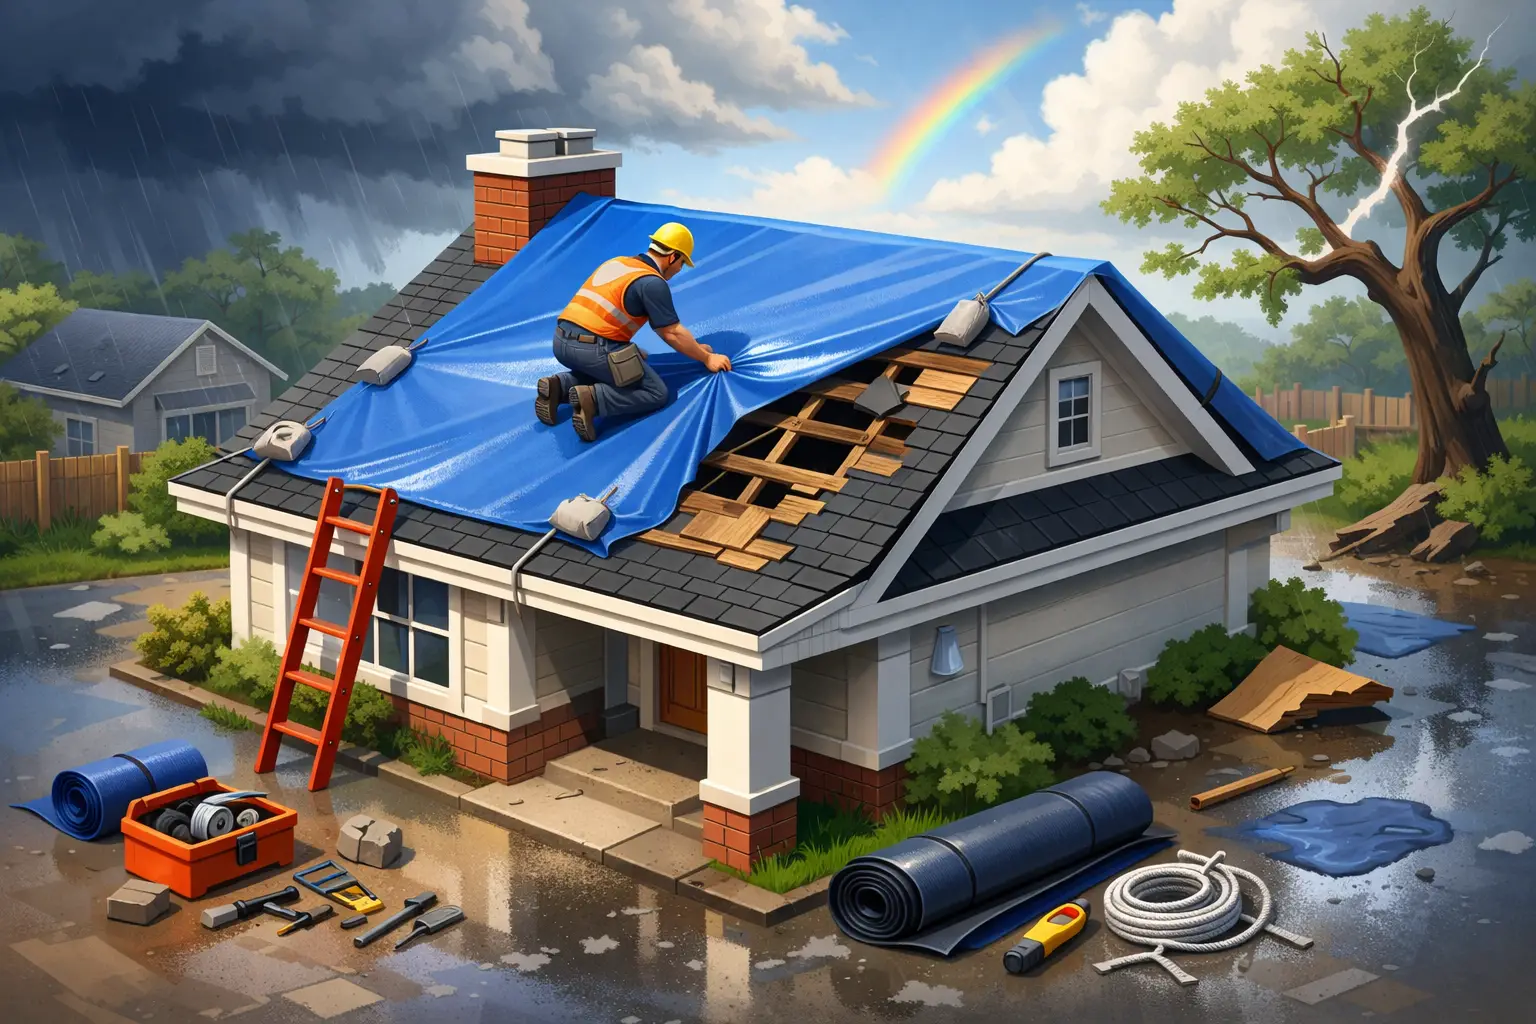
Place the tarp so water naturally sheds down and away from the damaged section. Start above the opening, near the ridge when possible, and extend the tarp past the damage on all sides. Water flows downhill, so the upper edge must be secured high enough that rain cannot run under it.
Wrap the upper tarp edge around a wood batten, then fasten the batten into sound roof decking or another appropriate secure point. Do not fasten into visibly rotten wood, cracked tile, brittle shingles, or a compromised membrane. Continue down the sides, keeping the tarp flat and reasonably taut without stretching it so hard that it tears.
The lower edge should extend beyond the damaged area so runoff lands on intact roofing, not directly into the opening. Secure side and lower edges with battens where needed. Keep the tarp smooth. Folds and pockets collect water, add weight, and can allow wind-driven rain underneath.
A temporary tarp should cover the damaged roof area, not block gutters, drains, scuppers, or rooftop drainage paths. This is particularly critical on flat and low-slope commercial roofs. A blocked drain can lead to ponding water, extra load on the roof, and a much larger problem than the original leak.
Different roof types need different care
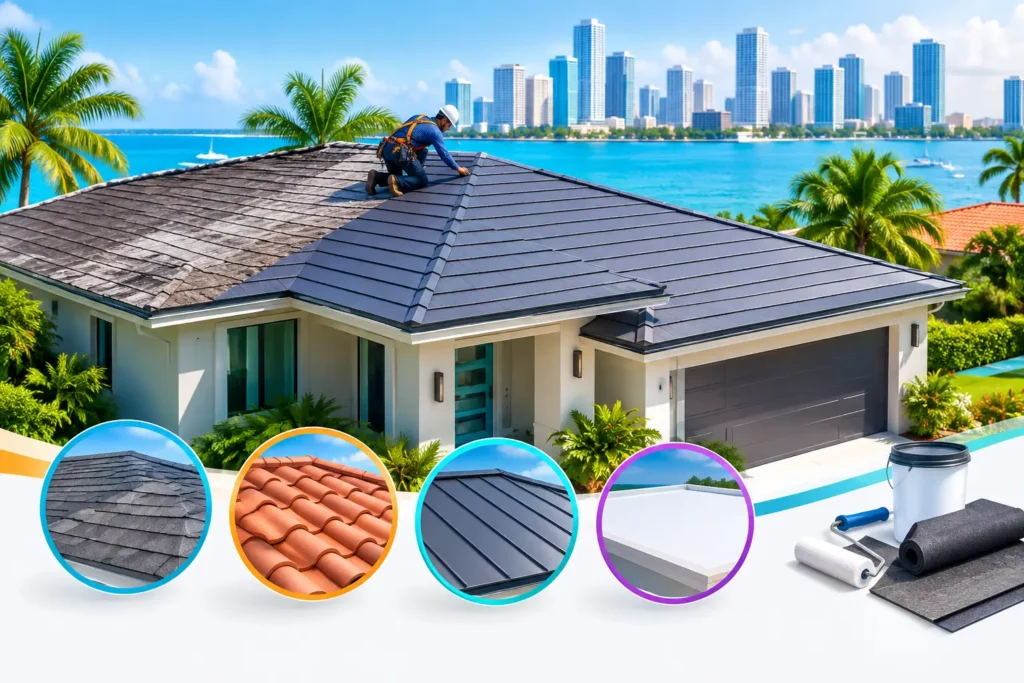
Miami homes and businesses have a wide mix of roof systems, and a one-size-fits-all tarping method can cause damage. Tile roofs need special caution because walking on tiles can crack them, even when no storm damage is visible. The missing tile may also be only part of the issue if underlayment or flashing below it has failed.
Shingle roofs can be temporarily covered more easily in some cases, but exposed nails, lifted tabs, and softened decking need a close inspection before any fastener is used. On metal roofing, installers must consider panel seams, fastener locations, and the risk of water traveling beneath panels.
Flat roofs with modified bitumen, TPO, PVC, or other membrane systems require a different approach. Fastening through a membrane without understanding the assembly can create new leaks and may complicate the permanent repair. If a flat roof has a puncture, open seam, or storm debris impact, limit access and arrange a professional inspection as soon as conditions allow.
Protect the claim and the permanent repair
Keep photos, videos, receipts, and a simple written timeline of when the damage occurred, when you noticed it, and what temporary steps you took. Do not throw away broken roofing materials until your insurer or contractor has advised you otherwise, unless they create an immediate safety hazard.
Be careful with quick fixes that hide the evidence or make an inspection harder. Spray foam, roofing cement applied across a large area, and random sealants can trap moisture or mask the true path of the leak. They may seem cheaper in the moment, but they often add labor and uncertainty to the final repair.
A professional inspection should look beyond the tarp. The contractor needs to check the roof covering, flashing, penetrations, drainage, decking condition, and signs of wind uplift or moisture migration. For Miami properties, they should also consider UV breakdown, salt-air corrosion, and whether the repair will hold up under the next heavy rain and hurricane season conditions.
Flash Roofing & Sheet Metal documents conditions with photos, explains the repair in plain language, and focuses on the source of the leak instead of selling a patch that will fail when the weather turns. You should know what was damaged, what needs to be repaired, and what the work will cost before the job begins.
A tarp is a pause, not a finish line
Check the covered area from the ground after additional rain or wind, but do not repeatedly walk on the roof to inspect it. If the tarp shifts, water continues entering the building, or the damage expands, call for emergency roofing help rather than trying to layer one temporary fix over another.
The right next step is a clear diagnosis and a repair built for South Florida weather. Do it once, do it right, and do not let a temporary tarp become a long-term risk over your home or business.